How to install a virtual PostScript printer in Windows
Installing Generic PostScript Drivers in Windows 8
Download the PostScript driver file in your OS version and install it.
Setting up virtual PostScript printer
After the first installation part a printer setup process starts. At first the system will look for physical printers. It doesn't matter to us, because we want to install a virtual one. Once the procedure is finished, click on the "The printer that I want isn't listed" link.
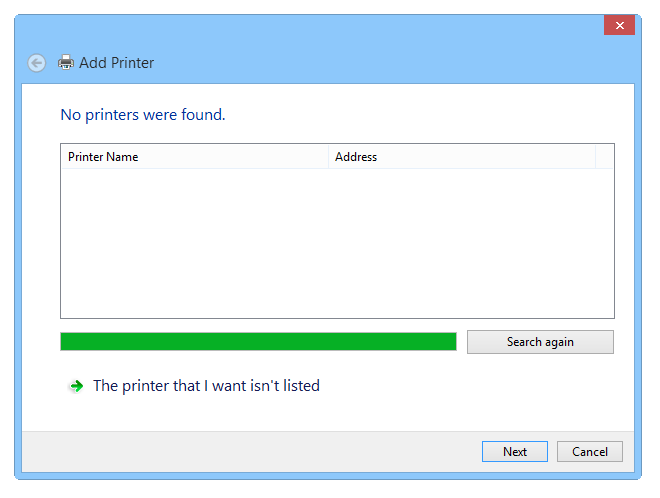
Printer setup looking for existing printers
Now we are going to add a new printer. Select the "Add a local printer or network printer with manual settings function".
In Windows 7, the windows look a little different and the system ask you whenever you want to install local or network printer. Pick whatever choice you need. The next steps are basically the same, the windows and some wording might be different, but the key principle is the same.
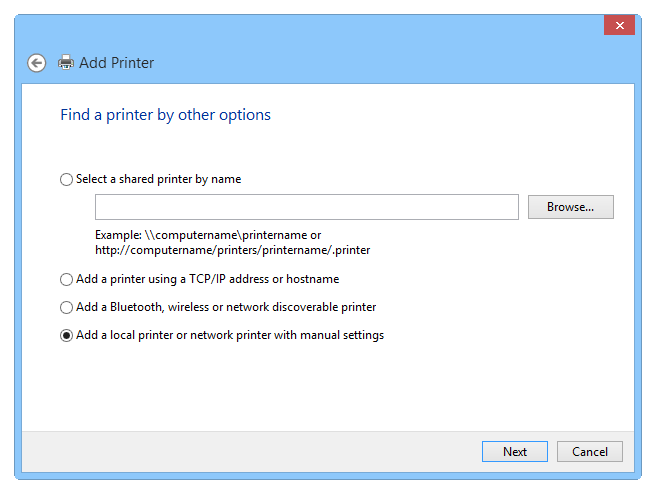
Adding local or network printer in Windows 8
In the next step, select the "FILE: (Print to File)" option in the existing port settings. This will create *.ps files whenever you use this virtual printer for printing your files.
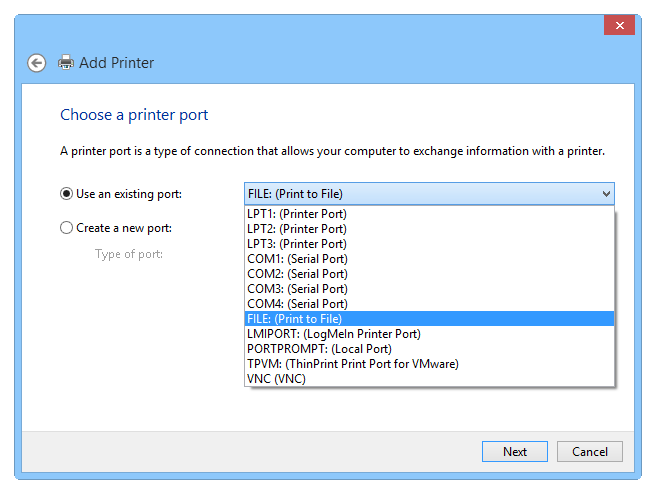
Selecting Print to File option instead regular port for printer
The setup will now give you a choice of the few drivers to select from. We didn't see much difference in them, so picked the first one.
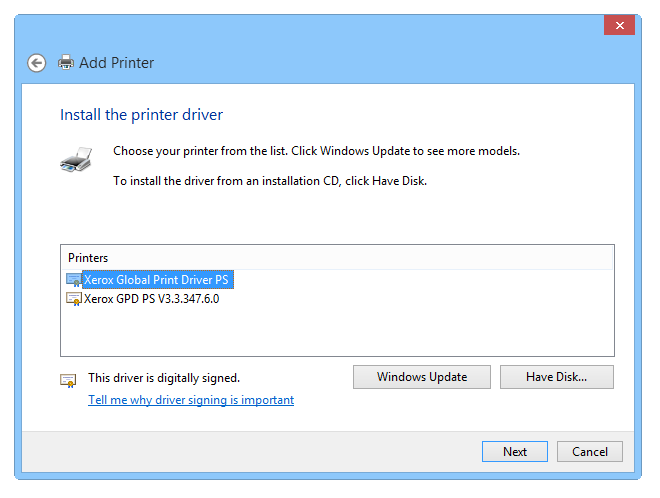
Picking up a driver for virtual PostScript printer
Name your virtual printer as you seem fit, this will be the name visible in printer selection and in the Devices and Printers control panel.
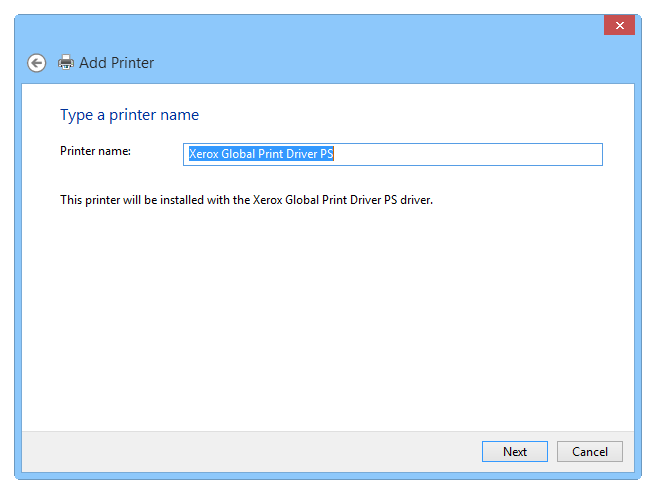
Naming newly installed virtual PS printer
If everything goes fine without error, you should see this and wait till it's finished.
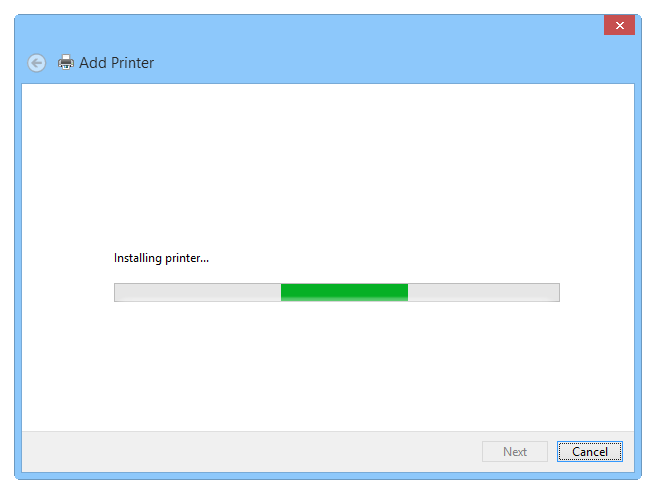
Final setup progress of the installation procedure
After the setup procedure is finished, the system asks you whenever you want to share this printer in your network. The choice is yours, we didn't want to share it, so picked the first option.
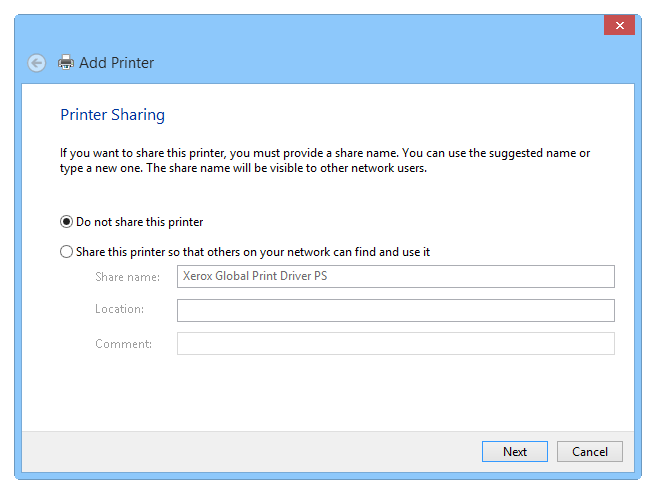
Setting up printer sharing options
This is the final window of the virtual PS printer setup procedure. Now you can pick if you want the new virtual printer to be your default.
Better uncheck this option, if you are regular user and won't use PostScript files in everyday business.
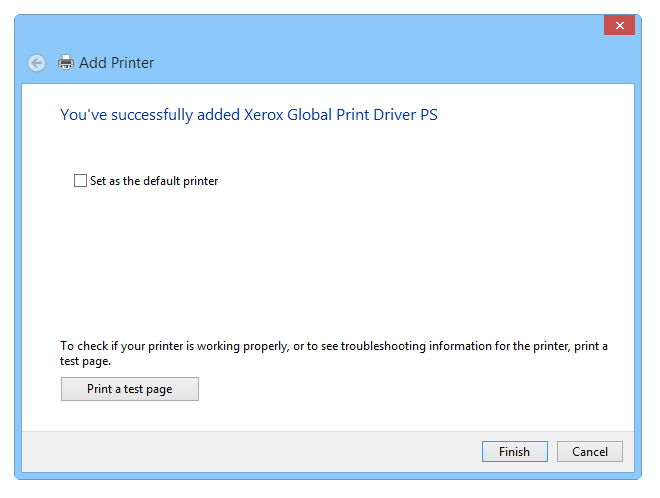
Finishing up the printer adding procedure
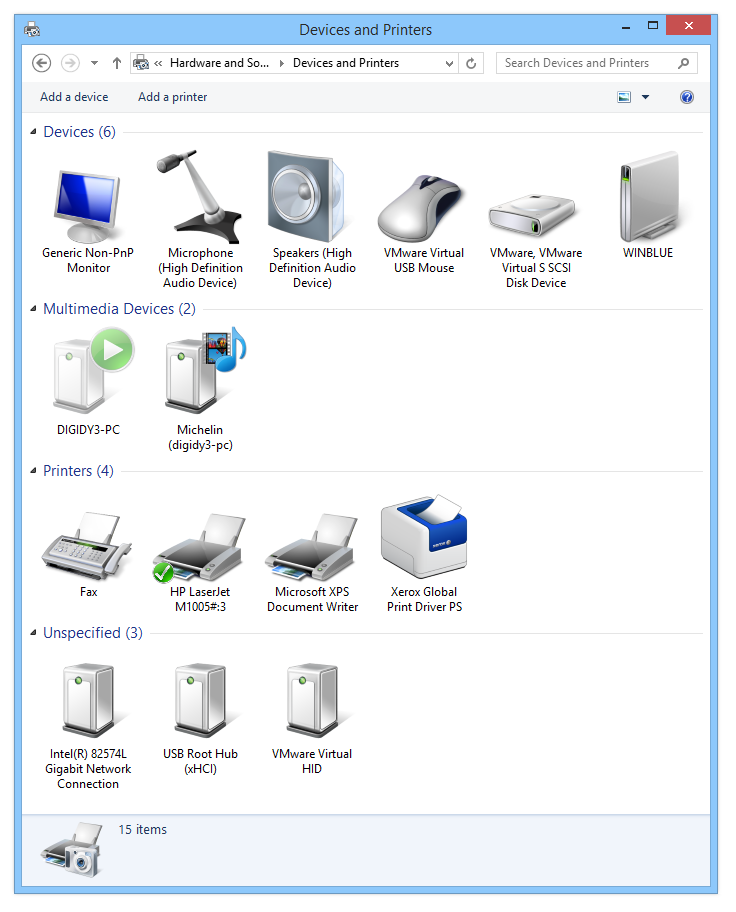
If everything went smooth and without problems, you should see your new printer in the Devices and Printers control panel, listed under the name you have saved few steps before.
Printing files to PostScript format (*.ps)
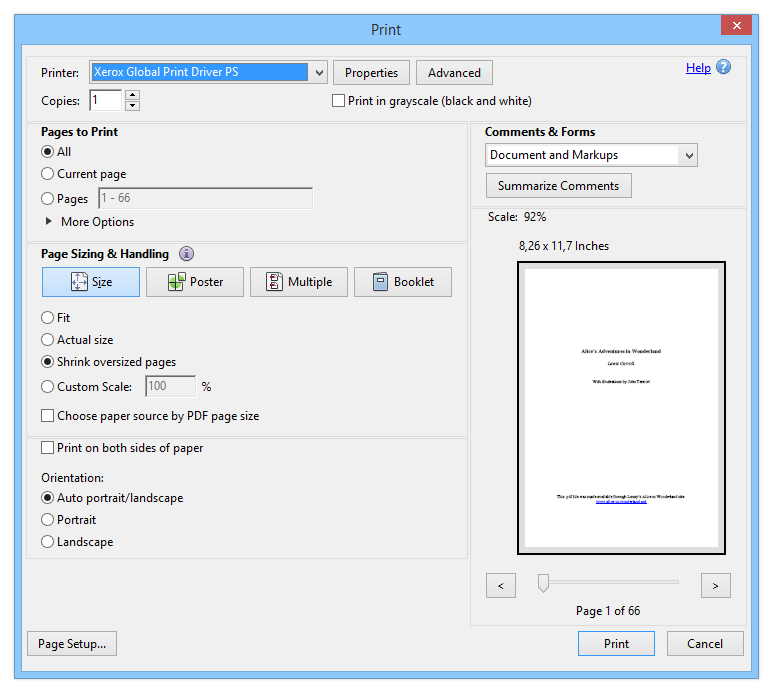
Now you should have the option to select this new virtual PostScript printer whenever you use the default File → Print function in some program. We have tested it on a random PDF and it worked just fine.
And that's it for this guide. We hope it will help you to solve your PostScript troubles in Windows.


 Thanks:
  Likes:
  Dislikes:


 Reply With Quote


Bookmarks